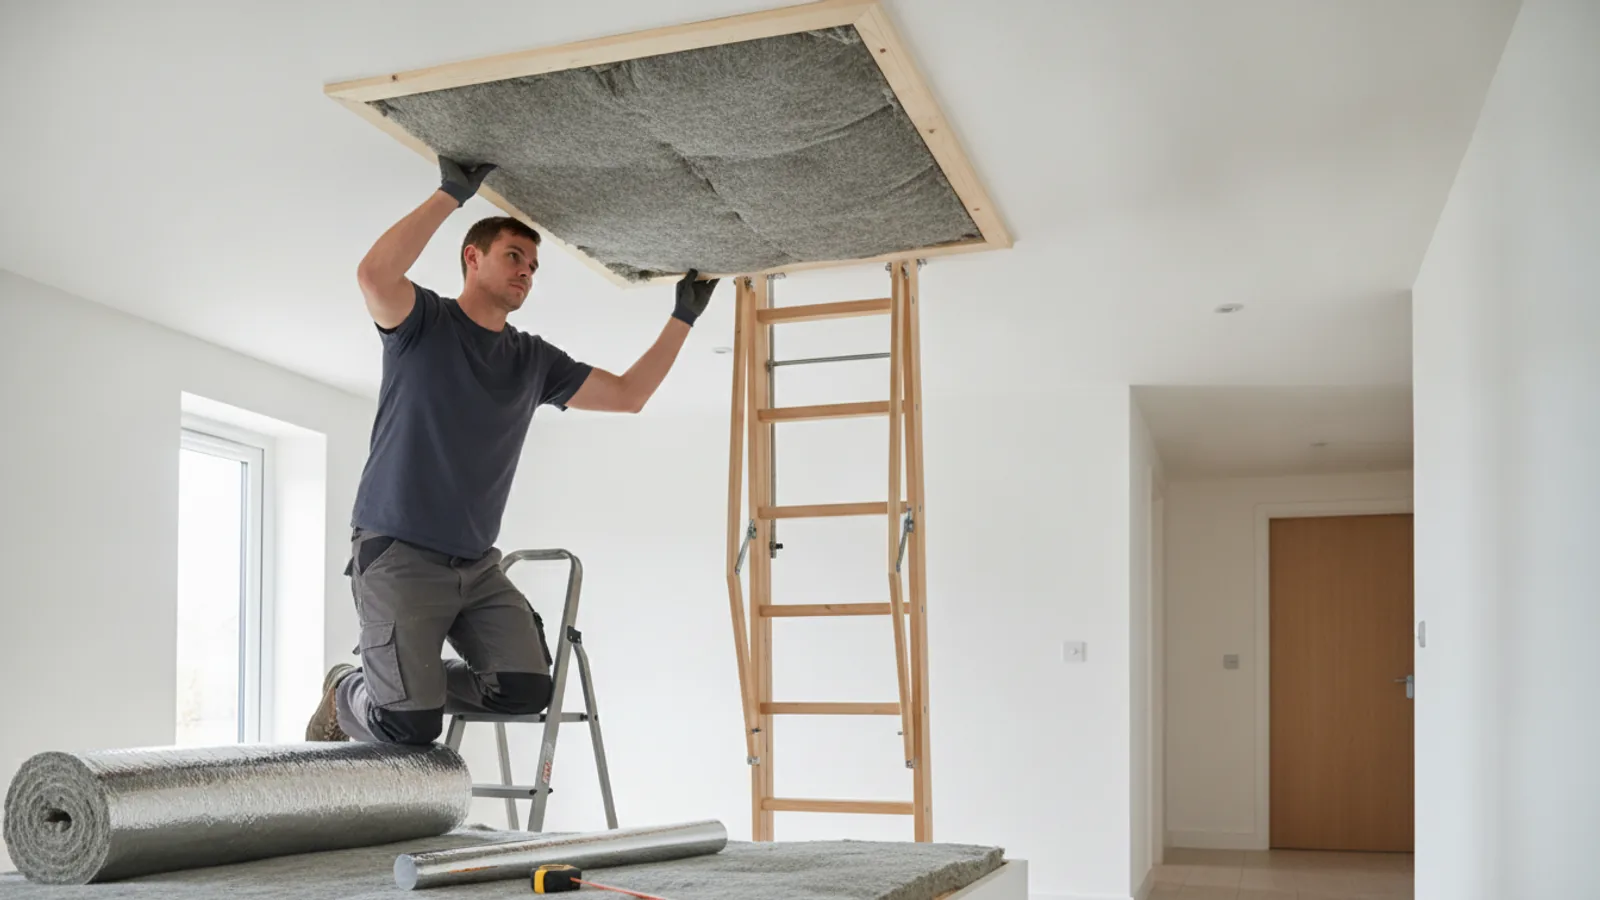
How To Insulate A Loft Hatch
An uninsulated loft hatch is a weak link in your home's thermal barrier, leaking precious heat into the cold loft space and driving up your energy bills. Even if your loft is insulated to the recommended depth, a poorly sealed hatch undermines all that good work. This practical guide walks you through the simple, low-cost DIY steps to properly insulate and draught-proof your loft hatch, a project that can be completed in an afternoon and will pay for itself in energy savings.
Fast Answer
- Key Action: Attach rigid insulation board to the top of the hatch and fit draught-proofing strips around the frame.
- Main Goal: Create an airtight, insulated barrier to stop heat escaping from your living space into the loft.
- Result: A warmer home, lower heating bills, and a significant reduction in cold draughts from above.
Before You Start
Gathering the right tools and materials is the first step to a successful job. This project doesn't require expensive or specialised equipment, and most items can be found at a local DIY store. Preparation is key to ensuring the process is smooth and the result is effective.
What You Need
- Rigid Insulation Board: Polyisocyanurate (PIR) or Extruded Polystyrene (XPS) boards are best. Aim for a thickness of at least 50mm, but 100mm is better if you have clearance. You can layer thinner boards.
- Self-Adhesive Draught-Proofing Strips: Choose a quality rubber or foam compression strip. It needs to be thick enough to form a seal when the hatch is closed.
- Tape Measure & Pencil: For accurate measurements.
- Cutting Tool: A sharp utility knife for thinner boards or a fine-toothed panel saw for thicker ones.
- Straight Edge: A long metal ruler or spirit level to guide your cuts.
- Fixings: Either a strong grab adhesive or screws with large penny washers.
- Safety Gear: Safety goggles, a dust mask (especially for sawing), and gloves are essential.
- Stable Ladder or Step Ladder: To access the loft safely.
Step-by-Step Instructions
Follow these steps carefully to create a professional-quality insulated seal on your loft hatch. Working methodically will prevent mistakes and ensure you achieve the best possible thermal performance.
Prepare and Measure Your Loft Hatch
Start by ensuring you have safe and stable access to your loft. Lay down a dust sheet below the hatch to catch any debris. Open the hatch and thoroughly clean the top surface (the side that faces into the loft). It needs to be free of dust and grime for any adhesive to stick properly.
Using your tape measure, take two precise measurements:
- The Hatch Door: Measure the length and width of the hatch door itself. Jot these down.
- The Frame Perimeter: Measure the length of all four sides of the loft frame where the hatch door rests when closed. This is for the draught-proofing strips.
Double-check your measurements. It's wise to measure twice and cut once.
Cut the Insulation Board to Size
Transfer the measurements of your hatch door onto the rigid insulation board with your pencil. Use the straight edge to draw clean, straight cutting lines. To ensure the insulated panel fits easily without snagging, subtract about 5mm from both the length and width measurements. This small gap makes installation easier and doesn't impact performance.
Place the board on a stable surface that you don't mind marking. Wearing your safety goggles and dust mask, carefully cut along the lines. If using a utility knife, you may need to make several passes, using the straight edge as a guide. For thicker boards, a fine-toothed saw will provide a cleaner and faster cut.
Fix the Insulation to the Hatch Door
You have two main options for securing the insulation board to the top of the hatch. Choose the one that best suits your hatch material and tools.
Method 1: Using Adhesive
This method is clean and simple, ideal for most wooden or plastic hatches. Apply a generous, zig-zag pattern of strong grab adhesive across the entire surface of the cut insulation board. Carefully align the board with the hatch door and press it down firmly. Place some heavy objects (like books or spare tiles) on top to weigh it down and ensure a strong bond while the adhesive cures. Check the manufacturer's instructions for curing time.
Method 2: Using Screws and Washers
This provides a strong mechanical fixing. From the underside of the hatch (the side you see from your landing), drive several screws up into the insulation board. It's crucial to use large penny washers under the screw heads to stop them from pulling through the hatch material. Ensure your screws are the correct length – they should bite well into the insulation but not poke through the top foil layer.
Create an Airtight Draught-Proof Seal
This step is just as important as adding the insulation. A draughty gap around the hatch will let cold air in and warm air out, regardless of how much insulation is on top. First, wipe down the top edge of the loft frame where the hatch sits. It must be clean and dry.
Take your self-adhesive compression seal strip and, starting in one corner, peel back the backing paper and apply it firmly to the frame. Work your way around the entire perimeter, cutting the strip neatly at the corners to form a continuous seal. Do not stretch the strip as you apply it. The goal is to have the hatch door compress this seal slightly when it is closed, creating an airtight barrier.
Insulate the Sides of the Hatch Frame
For maximum efficiency, you should also insulate the vertical sides of the wooden loft frame (the "upstand"). This part of the frame extends up into the cold loft and can act as a thermal bridge, conducting heat out of your home.
Measure the height of the upstand and the length of each of its four sides. Cut strips of your leftover insulation board to these dimensions. Apply grab adhesive to the back of these strips and press them firmly against the inside faces of the wooden frame. This creates a fully insulated 'box' that the hatch door closes into, minimising heat loss through the frame itself.
Check the Final Fit and Operation
Once all components are in place and any adhesive has cured, it's time for the final check. Carefully close your loft hatch. You should feel a slight resistance as the door makes contact with and compresses the new draught-proofing seal. This is a good sign.
Ensure the hatch latches securely. If it's a simple drop-in hatch, check that it sits flush and level. Look and feel for any obvious gaps or draughts from below. If the hatch is difficult to close, the insulation or seal might be too thick. You may need to trim the insulation board slightly or use a thinner compression seal. Once you're happy with the fit, clean up your tools and any dust or offcuts.
Quick Reference
| Situation | Use this | Why |
|---|---|---|
| Simple push-up wooden hatch | Grab adhesive and screws with washers | Provides a dual-action, secure fixing that won't fail over time. |
| Hinged hatch with a ladder | Grab adhesive only | Avoids using screws that might interfere with the ladder mechanism. Check clearance carefully. |
| Noticeable draughts around the edge | Thick, rubber compression seal | Foam strips can lose their 'bounce' over time; a rubber seal is more durable and effective. |
| You want maximum insulation performance | Two layers of 50mm PIR board | Layering boards allows you to achieve 100mm+ depth easily and stagger the joints to reduce thermal bridging. |
Common Problems When You Insulate A Loft Hatch
Even a simple DIY job can have its hitches. Here are some common issues and how to solve them.
The hatch won't close or latch properly after insulating.
This is the most frequent problem, usually caused by the combined thickness of the insulation and the draught-proofing strip being too great. First, check what is causing the obstruction. If it's the insulation board hitting a joist, you may need to trim a section of the board. If the hatch simply won't compress the seal enough to latch, you've likely used a seal that is too thick. Replace it with a thinner profile compression strip.
The hatch feels much heavier and is difficult to open.
While rigid foam is lightweight, adding a large, thick piece can noticeably increase the weight of the hatch door. For a simple push-up hatch, this can make it cumbersome. The easiest fix is to attach a simple handle or a screw-in eyelet with a rope to the underside, giving you something to pull on. For hinged hatches, especially those with springs, you may need to adjust the spring tension to compensate for the extra weight. Consult the manufacturer's instructions for your ladder system.
I can still feel a cold draught coming from the loft hatch area.
If you've added insulation but still feel a draught, the issue is almost certainly an incomplete airtight seal. Check your draught-proofing strips again. Are there any small gaps at the corners where they meet? Is the strip peeling away in one area? Is the hatch door itself warped, preventing it from sitting flat on the seal? You may need to apply new strips more carefully or even add a second latch to an older hatch to pull it tight against the frame on all sides.
Advanced Tips for Insulating a Loft Hatch
Ready to take your loft hatch insulation to the next level? These tips offer enhanced performance for those willing to go the extra mile.
- Build an Insulated 'Top Hat': For drop-in hatches without hinges, you can build a lightweight, five-sided box from insulation board. This 'top hat' or 'casket' sits over the entire loft opening and is simply lifted off and set aside when you need access. This method allows you to create a much deeper layer of insulation (matching your 270mm loft floor insulation) with a perfect seal around the base, offering superior performance.
- Upgrade the Entire Unit: If you have an old, warped, and flimsy plywood hatch, the best long-term investment may be to replace it entirely. Modern loft access kits come as a single unit with an integrated, factory-insulated door, built-in draught seals, and often a pre-attached folding ladder. While more expensive, they guarantee a perfect, airtight fit and excellent thermal performance right out of the box.
- Monitor for Condensation: Properly insulating and sealing your loft hatch prevents warm, moist air from your home from entering the cold loft. This is the primary way to prevent condensation from forming on timbers. After completing the work, keep an eye on the loft space during the first cold spell to ensure there are no new signs of dampness, which could indicate a wider ventilation issue that needs addressing.
How To Insulate A Loft Hatch FAQ
What is the best material to insulate a loft hatch?
How thick should the insulation on my loft hatch be?
Can I just put a roll of fibreglass insulation in a plastic bag on the hatch?
How much money will I actually save?
My loft is insulated at the roof rafters (a 'warm loft'). Do I still need to do this?
Final Checklist for Insulating a Loft Hatch
Before you put your tools away, run through this final checklist to ensure you haven't missed anything.
- Hatch and frame measurements were taken accurately.
- Insulation board is cut for a snug, not forced, fit.
- Insulation is securely fixed to the hatch door with no movement.
- A continuous, unbroken draught-proofing seal is applied to the frame.
- The vertical sides of the hatch frame (upstand) have been insulated.
- The hatch closes fully and the latch engages securely without strain.
- There are no visible gaps or audible draughts from below.
- All tools, dust, and material offcuts have been safely cleaned up.


